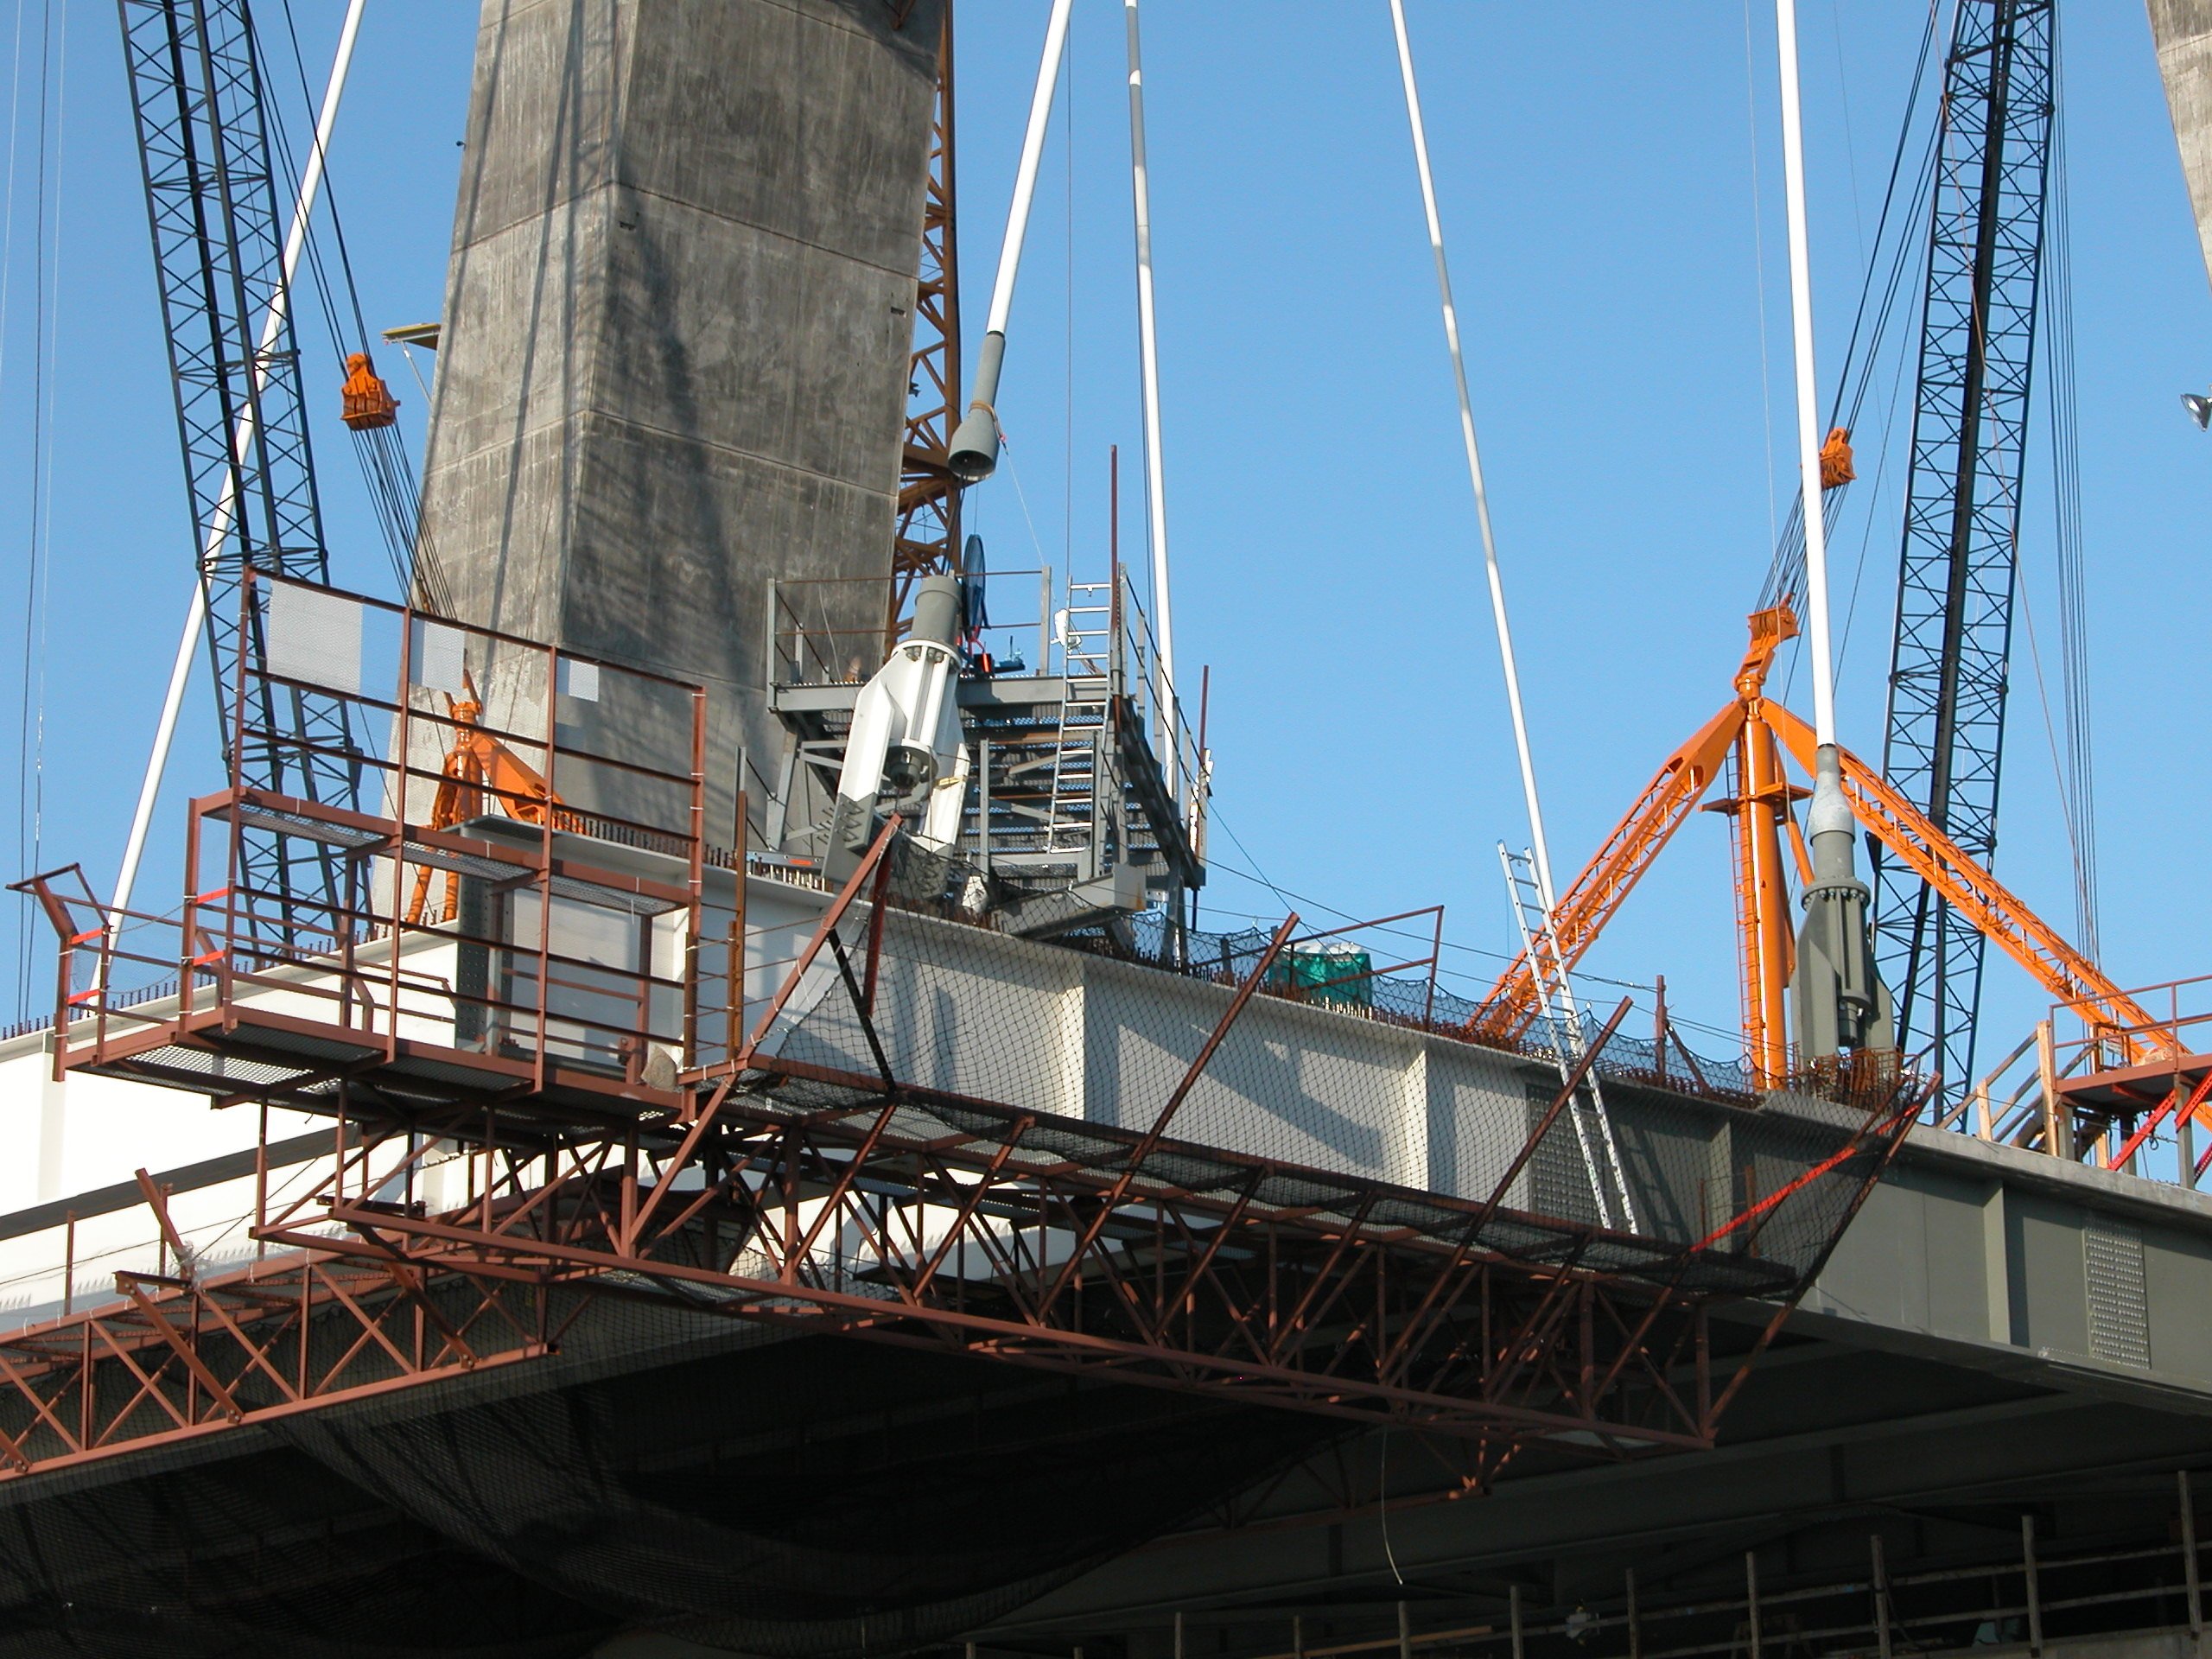
May 9, 2004: Details of Cable Attachments When I arrived at the Aquarium about 7am, the light was not so good. I took my photos and thought - hmmmmm, there is probably little traffic on the Pearman Bridge (which parallels the new bridge construction site). I thought that perhaps it might be possible to ride my bicycle along the edge of the construction site, shoot a few photos from various point along the Pearman Bridge and specifically concentrate on the hurricane support anchors (Ellen and I are having some discussion of the anchors). More important, with little traffic on the Pearman, perhaps I might even live to tell about it.
May 9, 2004 was the start of almost weekly bicycle rides across the Pearman, taking photos of the approaches, the west and east main span sections and then turning around and riding home.
Returning again after next two weeks, I found that there is a lot of observable detail about bridge construction that changes from week to week. So this page of bridge construction details was the start of up close and personal photos of the construction as I rode across the old Pearman Bridge.
May 9, 2004 6pm| West Pylon | East Pylon |
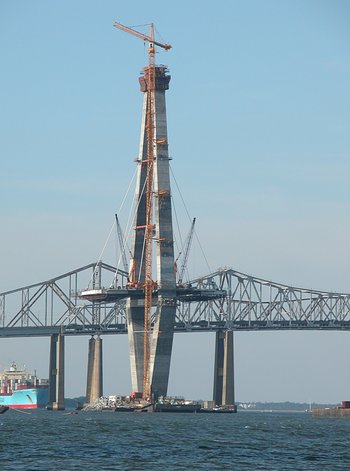
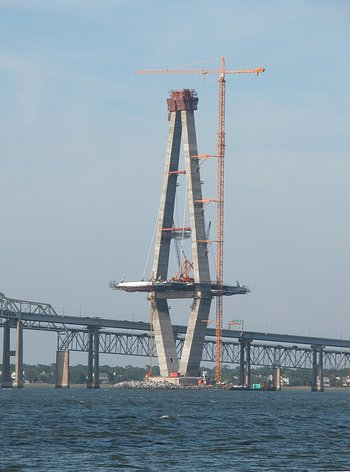
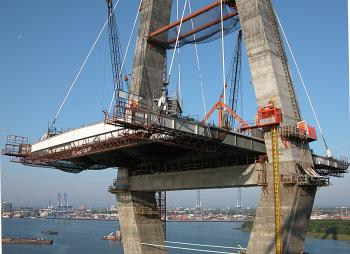
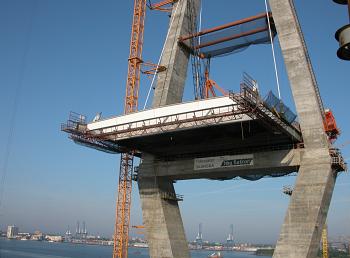
| West Tower: Anchors on the West Side | West Tower: Anchors on the East Side |
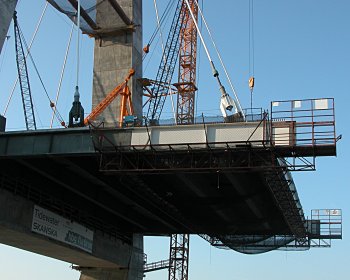
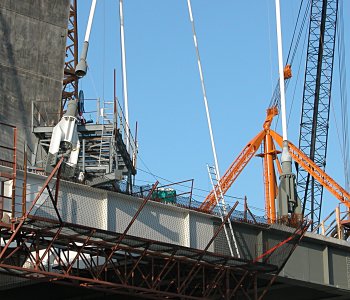
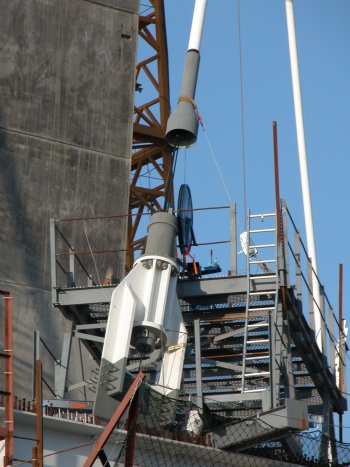
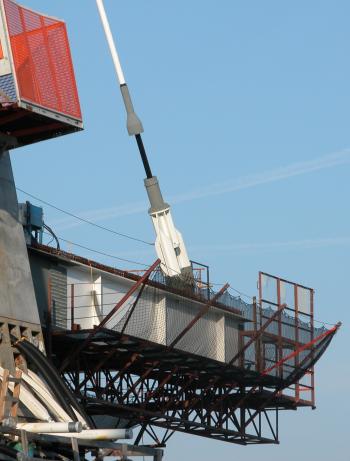
Note in the center of the left photo below (click the photo) you can see portions of the cable jig. The blue wheel with two grooves is for feeding the cable into the white polyethylene shield. Three cables appear to have been pulled and you can see their ends (scroll down to the bottom of the photo) extending from the tension plate near where the white anchor is attached to the beam. The other wire, I assume is the fish-tape.
The termination plate extracted from the above photo and (to the right) from the Oct 3, 2004 photo below shows the master strand tail that supports the stay pipe.
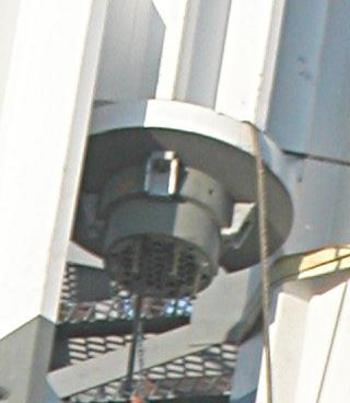
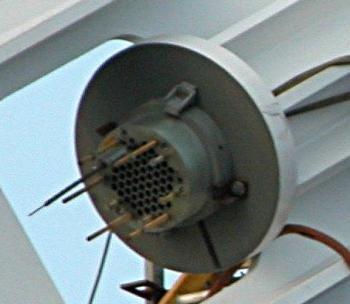
Here are two schematics from AAS-Jakobsen in Norway that describe the cable anchorage in the pylons and on the roadway platform. Note that in the Norway bridge, the platform cable anchorage penetrates the platform whereas here, the anchorage is coupled to the upper part of the platform with a (steel) plate with wings - more like a jet aircraft outline than a cable anchor.
Cable Anchorage: Pylon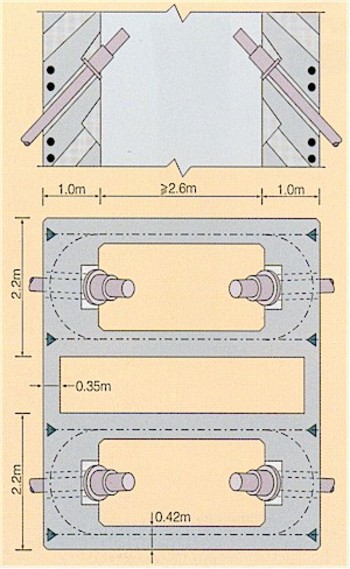
Cable Anchorage: Platform (This is not the strategy incorporated on this bridge - but the schematic gives an idea of how the cable anchor can be coupled to the platform. For the new Cooper River Bridge, the anchors and attached to the side beams as shown in the two photos above. The cables are passed through an anchor plate and then wedges are used to transfer tension within the cable to the anchor plate.
You can see the cable jig behind the anchorage (click the image to see the big wheel - about 1 meter in diameter) for guiding cables up the shield. For more detail, visit the build-a-cable-bundle page. It appears that only the master strand has been pulled at this time.